How to Hang a Picture: The Complete Step-by-Step Guide
Learning how to hang a picture properly is one of the simplest yet most impactful home improvement skills you can develop. Whether you are decorating a new home, updating a room, creating a gallery wall, or displaying cherished family photographs, correctly how to hang a picture hanging pictures can dramatically improve the appearance and atmosphere of your living space. While it may seem like a straightforward task, many people struggle with common issues such as crooked frames, incorrect placement, damaged walls, or inadequate support for heavier artwork.
A well-placed picture can become the focal point of a room, adding personality, style, and visual balance. On the other hand, poorly positioned artwork can make even a beautifully designed space feel awkward or unfinished. Understanding the proper techniques, tools, and measurements involved in picture hanging can help you achieve professional-looking results without hiring an expert.
This comprehensive guide will walk you through everything you need to know about how to hang a picture, from choosing the right location and selecting the proper hardware to ensuring perfect alignment and protecting your walls. Whether you are hanging a small photo frame or a large piece of artwork, these proven strategies will help you complete the job confidently and successfully.
Why Proper Picture Placement Matters
Many homeowners focus on selecting beautiful artwork but overlook the importance of placement. The position of a picture can significantly influence how a room looks and feels. Proper placement helps create visual harmony, draws attention to important design features, and improves the overall balance of a space.
Interior designers often recommend hanging artwork at eye level because it creates the most comfortable viewing experience. Eye-level placement typically means positioning the center of the artwork approximately 57 to 60 inches from the floor. This guideline works well in most living spaces and helps maintain consistency throughout the home.
Picture placement should also consider nearby furniture. Artwork should complement furniture rather than compete with it. For example, when hanging a picture above a sofa, the frame should generally occupy about two-thirds to three-quarters of the sofa’s width. This proportion creates a balanced appearance that feels intentional and visually appealing.
Tools You Need to Hang a Picture
Before beginning your project, gather the necessary tools. Having the right equipment makes the process faster, safer, and more accurate.
Essential tools include a measuring tape, pencil, level, hammer, wall anchors, nails, screws, and a stud finder. For heavier artwork, you may also need mounting brackets, picture-hanging hooks, or specialized wall anchors designed for increased weight capacity.
A level is particularly important because even slight tilting becomes noticeable once a picture is mounted. Modern laser levels can make alignment even easier, especially when creating gallery walls or hanging multiple frames in a straight line.
Preparing your tools in advance reduces interruptions and helps ensure professional-quality results.
Choosing the Best Location
Selecting the right location is one of the most important steps in learning how to hang a picture. The best placement depends on room layout, lighting conditions, furniture arrangement, and the size of the artwork.
Consider natural and artificial lighting. Direct sunlight can fade photographs and artwork over time, so avoid placing valuable pieces in areas exposed to prolonged sunlight. Instead, choose locations where artwork can be appreciated without risking damage.
The room’s purpose should also influence placement. In living rooms, artwork often serves as a focal point above seating areas. In dining rooms, pictures can add elegance and visual interest. Bedrooms may benefit from calming artwork positioned above the bed or on adjacent walls.
Always step back and visualize how the artwork will interact with the surrounding décor before making any holes in the wall.
Understanding Different Wall Types
Different wall materials require different hanging techniques. Understanding your wall type helps prevent damage and ensures secure installation.
Drywall is the most common wall material in modern homes. Lightweight pictures can often be hung using simple nails, while heavier pieces require wall anchors or studs for support.
Plaster walls are harder and more brittle than drywall. Special care is required when drilling or hammering into plaster to avoid cracking.
Concrete and brick walls require masonry drill bits and specialized anchors. Although installation takes more effort, these walls can support substantial weight when proper hardware is used.
Knowing your wall type before beginning the project helps you select the appropriate tools and mounting hardware.
Step-by-Step Instructions for Hanging a Picture
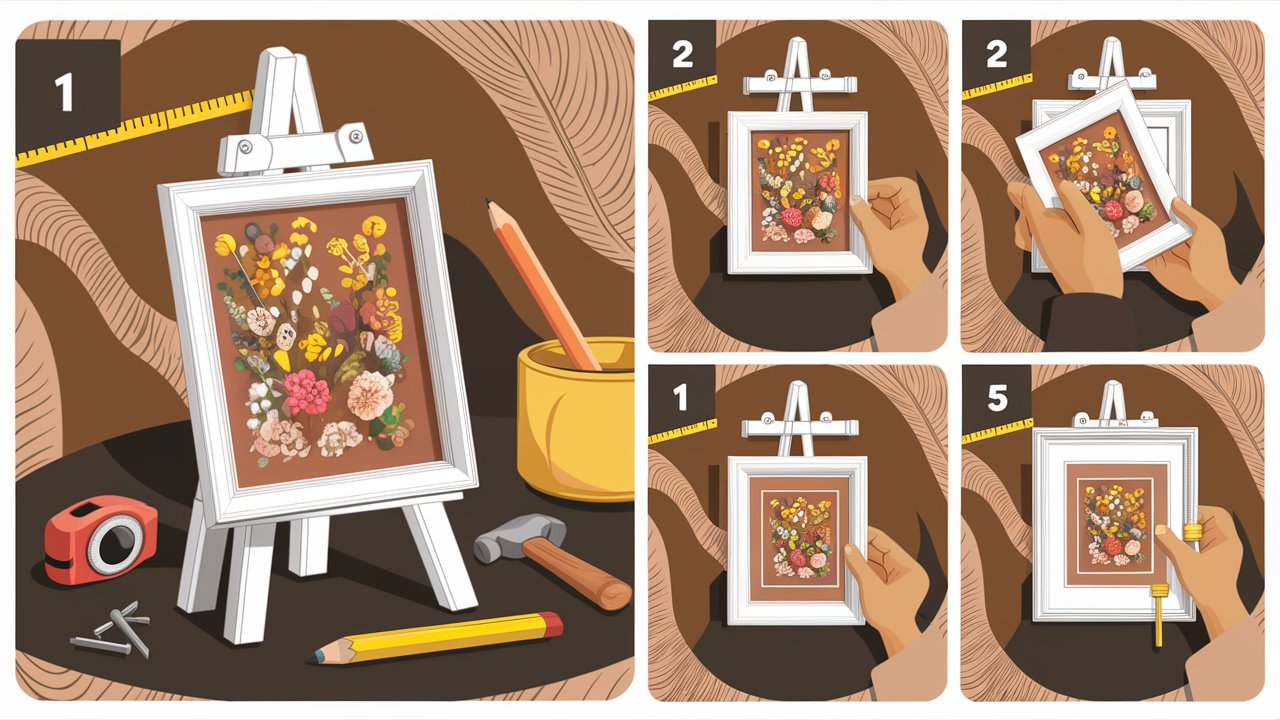
Begin by measuring the artwork and determining the desired placement. Mark the wall lightly with a pencil where the center of the picture should be located.
Next, measure the distance from the hanging wire or mounting bracket to the top of the frame. Use this measurement to determine the exact location for the nail or hook.
Install the hardware securely into the wall. If hanging a heavy picture, locate a wall stud or use a suitable wall anchor.
Carefully place the picture onto the hardware and check alignment using a level. Make any necessary adjustments until the frame sits perfectly straight.
Finally, step back several feet to evaluate the placement and make minor corrections if needed.
How to Hang a Picture Without Damaging Walls
Many renters and homeowners prefer methods that minimize wall damage. Fortunately, several alternatives are available.
Adhesive picture-hanging strips have become increasingly popular because they eliminate the need for nails and screws. These strips can support various frame sizes while allowing easy removal without leaving noticeable marks.
Picture rails provide another solution. Common in older homes, picture rails allow artwork to hang from wires attached to molding rather than directly from the wall.
Freestanding shelves can also display artwork without requiring any wall modifications. Leaning frames against the wall creates a modern and flexible design aesthetic.
These options are particularly useful for renters or anyone who frequently changes décor.
Common Picture Hanging Mistakes
One of the most frequent mistakes is hanging pictures too high. Many people place artwork near ceiling level, making it difficult to view comfortably. Following eye-level guidelines helps avoid this problem.
Another common mistake involves using insufficient hardware. Heavy artwork requires appropriate anchors and support systems to prevent accidents.
Ignoring room proportions can also create visual imbalance. Oversized artwork may overwhelm a small space, while tiny frames can appear insignificant on large walls.
Failure to use a level often results in crooked frames that detract from the room’s appearance. Taking a few extra moments to ensure proper alignment can make a significant difference.
Creating a Gallery Wall
Gallery walls are a popular design trend that allows homeowners to display multiple pieces of artwork together. Successful gallery walls require planning and consistency.
Start by arranging frames on the floor before hanging them. Experiment with different layouts until you find a configuration that feels balanced and visually pleasing.
Maintain consistent spacing between frames, typically two to four inches. Consistent spacing creates a cohesive appearance even when frame sizes vary.
Using paper templates taped to the wall can help visualize the final arrangement before making any holes.
A well-designed gallery wall can become a stunning focal point and showcase personal style effectively.
Tips for Professional Results
Professional decorators often use painter’s tape to outline frame dimensions before hanging artwork. This technique allows you to evaluate placement visually without committing to a permanent location.
When hanging multiple pictures, establish a common center line or top edge to create consistency. Symmetry often contributes to a polished appearance.
Use quality hardware rather than inexpensive alternatives. Durable materials provide better security and longevity.
Take your time during installation. Careful measurements and thoughtful planning usually produce far better results than rushing through the process.
Conclusion
Learning how to hang a picture correctly is a valuable skill that can transform the appearance of any room. From selecting the ideal location and gathering the proper tools to understanding wall materials and avoiding common mistakes, each step contributes to a successful outcome. Properly hung artwork enhances visual appeal, creates balance, and reflects personal style while making a home feel more inviting and complete.
Whether you are displaying a single family photograph, decorating with large wall art, or creating an elaborate gallery wall, the principles outlined in this guide will help you achieve professional-looking results. By applying these techniques and taking the time to plan carefully, you can confidently hang pictures that remain secure, level, and visually attractive for years to come.
Frequently Asked Questions (FAQ)
What is the best height to hang a picture?
Most interior designers recommend placing the center of the picture approximately 57 to 60 inches from the floor.
How do I hang a heavy picture safely?
Use wall studs, heavy-duty anchors, or specialized picture-hanging hardware designed to support the artwork’s weight.
Can I hang pictures without nails?
Yes. Adhesive picture-hanging strips, picture rails, and display shelves are excellent alternatives.
How do I keep a picture from hanging crooked?
Use a level during installation and consider adding rubber bumpers to the bottom corners of the frame.
Should pictures be centered above furniture?
Generally, artwork should be centered relative to the furniture beneath it for balanced visual appeal.
What tools are essential for hanging pictures?
A measuring tape, level, hammer, nails or screws, wall anchors, pencil, and stud finder are the most useful tools.
How far apart should pictures be in a gallery wall?
Most designers recommend spacing frames approximately two to four inches apart for a cohesive appearance.